

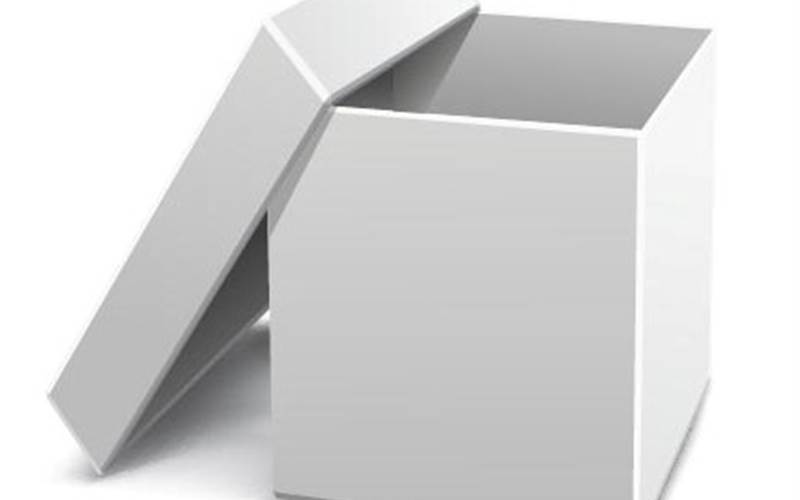
How a rigid box is made
The process of creating a rigid box is simple. It starts with a non-bending chipboard and a simple steel rule die. This, for a rigid box tray, contains knives for cutting out the tray shape from the chipboard, and cut scores that partially penetrate the board, allowing bending (scoring) without tearing. Vat-lined chip (chipboard lined on either one or both sides with a white coating made from newsprint, giving the box a more finished appearance). Please note: This works well during instances whe
04 Jul 2016 | By Dibyajyoti Sarma & Rahul Kumar
Rohit Khanna, Creative Offset Printers
Next, ¾”-wide adhesive-backed tape is applied to the four corners of the tray on a machine called a quad stayer, to provide added stability. Not all box wraps require printing, but along with foil stamping, embossing, debossing, or other decorative techniques, the corners of all rigid box wraps must first be trimmed or “mitred” so that when the box is formed, the wrap makes a perfect transition from two-dimensional blank to three-dimensional box.
A wrap can be adhered to a tray either tightly or loosely. A tight wrap applies adhesive to the entire back surface of the wrap while a loose wrap is generally only spot-glued at the edges of a lid, leaving the top panel without adhesive. The purpose is primarily aesthetic: a box made with a loose wrap appears to be handmade, and therefore more expensive. When much of the production was done by hand, loose wraps were more common but in today’s automated environment, loose wraps are only a small percentage of total production.
In an automated environment, the wraps, adhesive-side up, move along a conveyor where an operator carefully (and quickly) places the tray on the glued surface of the wrap. From there, the box moves to the right toward the wrapping station. Arms then grab the tray and pull it at a right angle into the wrapper. A plunger pushes the lid or base down and the adhesive-laden wrap is rolled up and over the tray, gluing it to the sides and inside lip of the box, giving it a turned edge. In the top centre, a machine-positioned base is descending toward the wrap below. At the bottom left is a base that has just left the station, now ready for wrapping. Pressure is applied to the top of the unwrapped tray to help adhere the glue, before the box moves into the wrapper.
Arms then grab the tray and pull it at a right angle into the wrapper. The red plunger pushes the lid or base down. Ater which, the adhesive-laden wrap is rolled up and over the tray, gluing it to the sides and inside lip of the box, giving it a turned edge.
(Courtesy: The Paperboard Packaging Council website www.paperbox.org)


 See All