

Five requisites for exceptional print quality
Hemanshu Desai says it isn’t possible to ensure best practice on the shopfloor without recourse to the the small details in the pre-press department. Desai looks at the processes and tools that can ensure print accuracy
14 Jun 2013 | By PrintWeek India
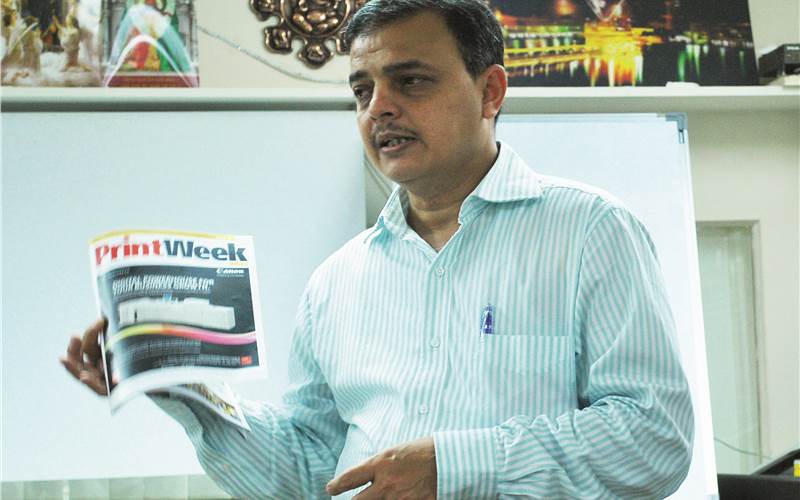
Desai: "If you can't invest in pre-press kit in one go, purchase them one after another"
Few years ago a senior print CEO from our industry sent me the following text message.
Seven reasons why we are in printing industry
● We hate to rest
● We have already enjoyed our life in childhood
● We love tension
● We don’t want to spend time with our family
● We want to take revenge on self and argue with clients
● We want to work on holidays
● We are proud of running and catching the last train. If missed, we enjoy sleeping on the railway station.

Appropriate steps to achieve print targets
Appropriate steps to achieve print targets
I realised that the above sms was written out of frustration. And I thought of doing something about it. I studied the way the industry is functioning and realised there are important areas that are being ignored.
Everyone knows the print process – from designing to printing and finally post-printing. We call it pre-press, press and post-press. All linked to each other. But as they say the chain is as strong as the weakest link in it.
But that’s how the print industry is. We spend a lot of money on the offset machine and ignore pre-press and post-press. Lot of us feel that buying a well-known brand’s four-colour or six-colour press may help to produce the best print quality. Yes, it will, no doubt about it but if you use a sub-standard file, then? Garbage in – garbage out.
The appropraite steps to achieve print targets
The appropraite steps to achieve print targets
Since I belong to pre-press I will talk about the five things that one must have to prove those seven reasons wrong.
1. Use correct designing software
There are three components to designing. a) Text layout. b) Images. c) Line drawings. There are different tools for these functions and the right tool needs to be used. Use multiple applications for correct designs. While CorelDraw is a great application, it is not viable for book publishing .
2. Understand final target
First ask yourself questions like what am I designing? Where is it going to be printed? What media am I going to use etc. Set your target first and then take appropriate steps to achieve that target. Then you decide how much time you have, how much money do you want to spend? Based on these factors one should decide which mode fulfills the purpose with the required result. It is important to maintain regular communication between the printer and the print buyer. Take his inputs. Understand his strengths and weaknesses. Make sure the raw material is available etc.
3. Understand colours and colour management
Make sure your designing system (software) is set to the target ICC profile. Each software application that you use needs to have a target ICC profile. We print in CMYK, and so we have to work in CMYK. All your images, text, line drawing has to be in CMYK and with the same ICC profile. Once the design is done, the file should not be tampered with. You can’t switch over or drop the ICC target half-way through. You shouldn’t change fonts. Proper steps should be followed religiously, in order to maintain quality.
4. Understand the standardisation
Once a person asked me. If everyone works with the same standard then how will I be different? What is my USP? Well, apart from production, you could be good in services, committed to quality and delivery schedules. Standardisation ensures uniformity. Everyone works with the same target. Distortion of data is minimal. You can reproduce identical results on more than one machine, you will produce the same results even if a machine is down and you have to switch the job to another machine. You can outsource a job, if you are unable to print. Of course, this is possible only with common standards.
Also, if we want a bigger share of the international market, it is almost impossible to proceed without standardisation.
5. Understand the newer technology and embrace them
Technology is constantly evolving. Newer products are introduced in the market everyday. These can be confusing and pressurise you due to the pestering by vendors. But technology does make our jobs easier and improves quality, so adoption is important. Study the kit, ask questions. Do thorough research. And before opting for a new machinery one should ask, how will this new technology help me? Will it increase productivity? Will it save time and money? Do not be swayed by the public perception. Talk to other printers who are using similar technology and weigh the pros and cons.
If you understand the above, you need a few tools:
1. PDF checking and correcting software
A pre-flight tool such as Enfocus PitStop to check the content of the PDF file. It shouldn’t have RGB colours, and required fonts should be embedded or converted to outline etc. This is applicable for both – those who send the files to multiple sites and also those who receive the files from various sources.
2. Hard copy proofing system (not colour printer but full-fledged proofer)
We look at a monitor and “feel” that the design and its content – specifically colours are okay. All of us know that monitor does not show in CMYK and that monitor has its own brightness. So the design is going to look good on monitor. Also some applications show the content looks correct on the monitor but when printed some of crucial text goes missing or something which was not visible makes a guest appearance. This is specific with transparency and over-print/knockout.
A hard copy print out is must for feeling the actual print. Please note that this can be just a colour print but has to be calibrated to a target proof. You need a proofing system such as a professional quality printer from Epson with highly accurate software such as Oris Colour Tuner.
3. Colour calibration tools; check monitor profiles, proofing certification and calibration, measuring tools for press
For our judgment on the monitor, the monitor has to show consistent result. For this one needs a monitor calibrator such as Eye-one display from X-Rite. Even the proofing system needs to be monitored for its accuracy over a period of time. With a certification software such as the Oris certified proof and Eye-Pro from X-Rite helps check that the proofing system is printing to a set standard and is within tolerance.
The point is, you need instruments such as densitometer or a spectro-densitometer to check and monitor prints on the offset press.
4. Ink saving or optimising software
We know that UCR/GCR helps in saving expensive C, M, Y inks and are replaced with inexpensive K. But apart from saving on ink, one also saves lot of time because 1) Drying is faster, 2) Set of is less so you can print on reverse side, 3) Better gray balance etc. An absolute must.
5. Ink controlling and correcting system on press
We need to shorten the make-ready time. For this, one needs to invest into a digital ink pre-setting system. In practice, it is observed that the make-ready time is reduced from 20 minutes to 3 to 4 minutes. And also once the job starts printing, you need print consistent quality. A closed-loop system such as InkZone from Digital Information helps.
Whether one agrees on this or not, you need measurements and efficiencies.
If you can’t invest in pre-press kit in one go, purchase them one after another and in the above order.
Venus Infotech was founded in 2002 by Hemanshu Desai who has over 25 years of experience in the industry


 See All